Understanding Invoicing in Limo Anywhere

Invoicing helps your company simplify payments, whether for multiple trips related to a single event, like a wedding, or for ongoing corporate clients with a running balance. Before a reservation can be included on an invoice, the following conditions must be met:
- The Billing Contact must have an account in your system.
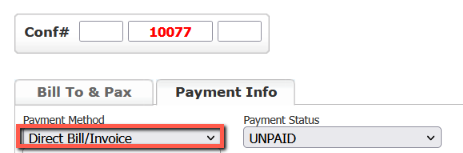
- The Payment Method must be set to ‘Direct Bill-Invoice’ under the ‘Payment Info’ tab. This setting tells the system that the reservation will be invoiced.
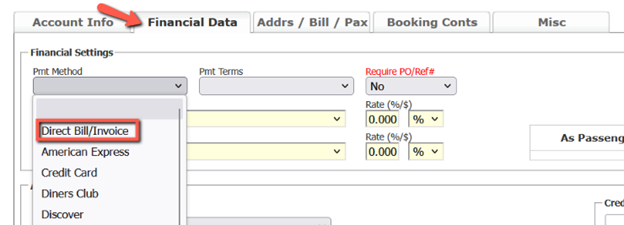
NOTE: You can set the default Payment Method for an account to ‘Direct Bill-Invoice’ under the ‘Financial Data’ tab in the account. This ensures that every reservation for that client is automatically marked for invoicing.
Accessing Invoiceable Trips
- Click the “Receivables” icon in the Navigation Bar.

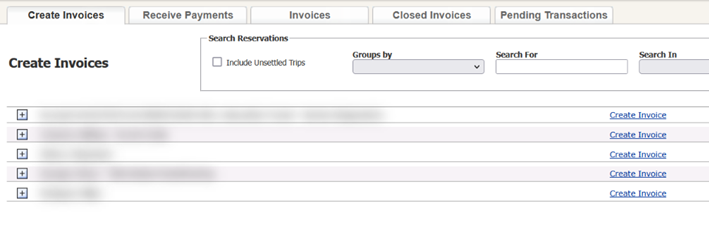
2. The “Create Invoices” tab will open by default, displaying all settled trips with the “Direct Bill/Invoice” payment method, organized by Billing Contact.
Creating an Invoice
To create an invoice in Limo Anywhere, you can use one of two methods:
- Creating an Invoice Using the Link
a. Click the blue "Create Invoice" link.

b. This will open the invoice with all trips for the selected Billing Contact.
c. (Optional) Set the Invoice #. NOTE: Invoice numbers are auto-generated after the first invoice.
d. Select the appropriate payment term from the dropdown.
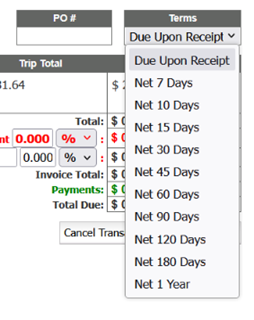
e. Enter the PO # (if applicable).
f. Select the trips to include in the invoice by clicking the checkbox.

g. (Optional) Add a Customer Message, which will be visible on the invoice.
h. (Optional) Add Invoice Notes, which are visible only internally.
i. (Optional) Add a Discount or Extra Charge.

j. Click "Save Changes."
NOTE: The invoice won’t be created until you click "Save Changes."
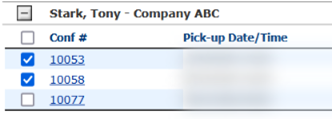
Creating an Invoice by Adding Selected Trips
a. Click the [+] next to the Billing Contact to view all trips ready for invoicing

b. Select the trips you want to include.
c. Click "Add Selected Trips to Invoice."
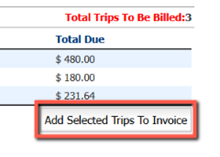
NOTE: The invoice is created once you click "Add Selected Trips to Invoice." You can then update the Invoice #, Terms, Customer Message, Invoice Notes, Discount, or Extra Charge, and click "Save Changes."
Modifying Invoices
- Click the “Receivables” icon from the Navigation Bar.
- Select the “Invoices” tab.
- Click the Invoice # of the invoice you want to make changes to.
- Make the appropriate changes to the invoice, then click “Save Changes.”
NOTE: Only unfinalized invoices can be changed.
Finalizing an Invoice
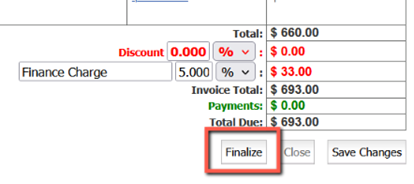
While an invoice can be sent before finalization, it's important to note that reservations can still be added or removed until the invoice is finalized. For this reason, we recommend finalizing the invoice only when it's ready to be sent. If you're tracking a rolling total for the month, you can send an unfinalized invoice to your client who wants to track their ongoing spend. However, finalizing the invoice ensures that all trips are accounted for, providing an accurate total before sending it to your client.
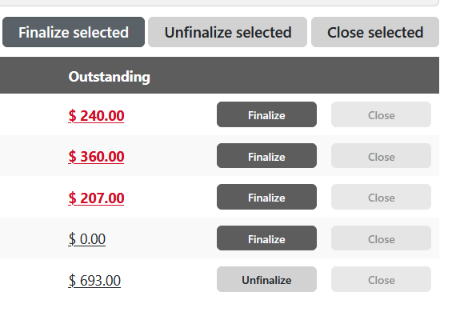
To finalize an invoice, you can either select “Finalize” button from within the individual invoice or you can choose to finalize (and batch finalize) invoices from the invoices screen
Have feedback or suggestions about our invoicing features? We’d love to hear from you! Share your ideas with our Product Team at ProductTeam@LimoAnywhere.com. Have any other questions? Our Support Team is here to assist—call us at 888-888-0302 Ext. 2 or email Support@LimoAnywhere.com.
Recent Posts

Limo Anywhere Stands with Our Industry – Supporting the Chauffeurs Who Drive Us Forward
Friday April 18, 2025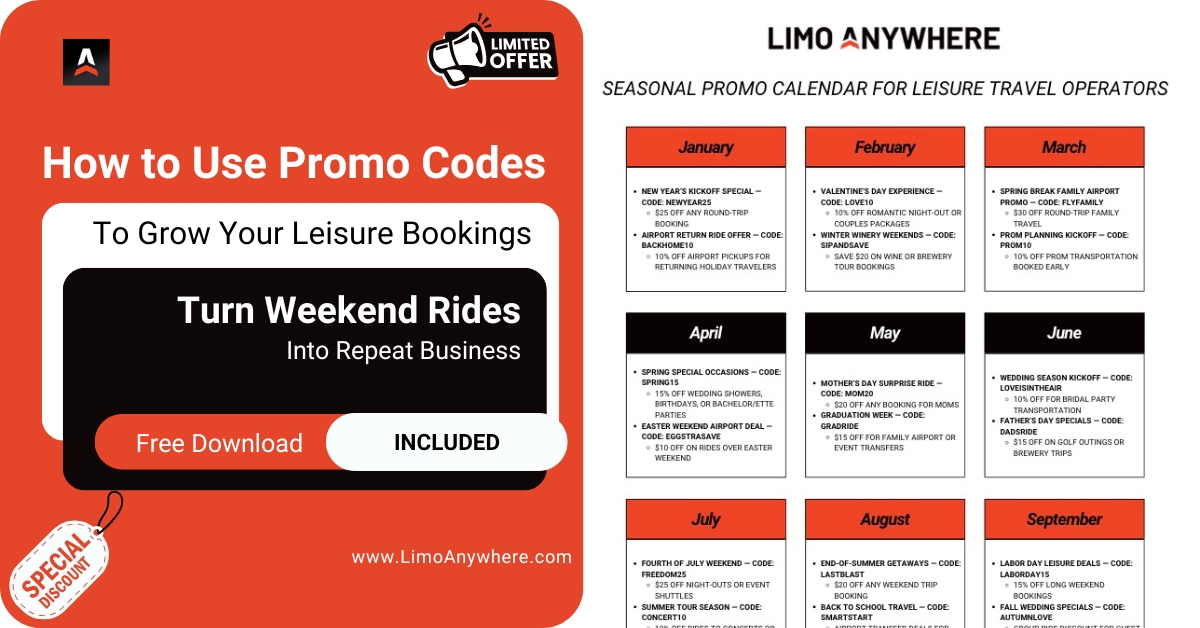
Turn Weekend Rides Into Repeat Business: How to Use Promo Codes to Grow Your Leisure Bookings
Wednesday April 16, 2025