Creating Account-Specific Scheduled Messaging Templates

Limo Anywhere's scheduled messaging templates help operators automate communication based on trip statuses. For added flexibility, you can set up account-specific scheduled messages tailored to individual clients. This ensures that bookers, billers, and passengers receive the right information at the right time.
This guide walks through how to create, customize, and assign account-specific scheduled messaging templates.
Creating Scheduled Messaging Templates
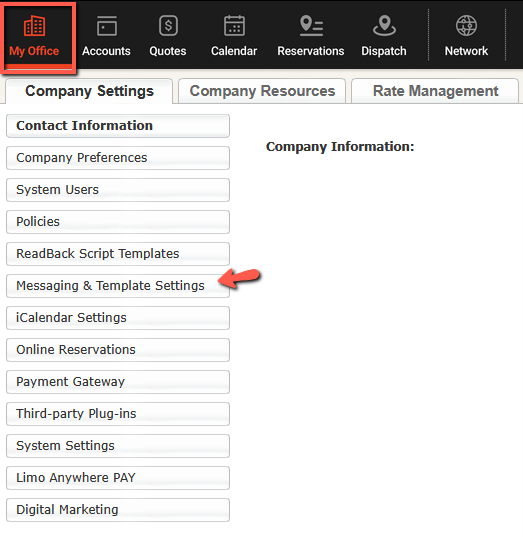
- Click the “My Office” icon in the Navigation Bar.
- From the “Company Settings” tab choose Messaging & Template Settings from the lefthand menu.

3. Click the "Scheduled Messaging" tab.
4. Select Email or SMS from the Configuration Type drop-down menu.

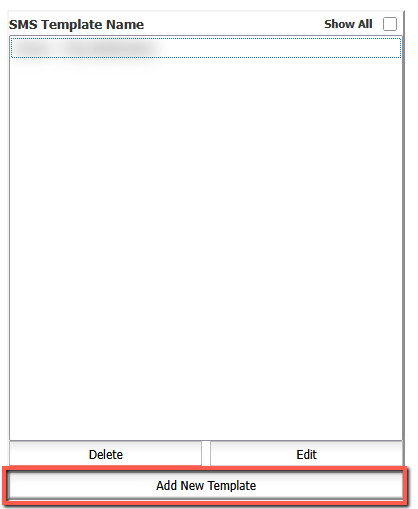
5. Click Add New Template.

6. Enter a name for the template in the Email or SMS Template Name field.
7. Select Trip or from the Type drop-down menu.
8. Select New/Live from the Reservation Status drop-down menu.
9. Choose Select All from the Trip Type drop-down menu.
10. Choose Select All from the Service Type drop-down menu.
To create a template for a specific service, select that service. Example: Choose “Prom” to send a message when the status changes to “Passenger Dropped Off.”
11. Select Customer from the Email or SMS Class drop-down menu.
12. Choose who should receive the message: Billing Contact, Passenger, and/or Booking Contact.
Example: A booker may receive a text when the status changes to “Passenger on Board,” while a billing contact may prefer an email for “No Show” or “Late Cancel.”
13. Set the timing in the When To Send field:
Associate the message with a status change.
Schedule it to send a set number of days, hours, or minutes before or after a trip.
Example: A general reminder may be sent 24 hours before a trip, while a specific passenger prefers a notification 7 days in advance.
You can also specify when messages should not be sent (ex. for canceled trips).
14. Select Yes or No for Allow Profile Level Setting Override, based on company preference.
15. Choose Yes for the setting that restricts the template to accounts that have selected it in their profile. (This enables account-specific scheduled messaging instead of system-wide notifications.)
16. Ensure the Is Active setting is set to Yes. (If you want to disable a template without deleting it, set this to “No.”)
17. (Optional) For SMS notifications, set a blackout period to prevent messages from being sent during specific hours.
18. Enter your message content in the template editor. Click the HTML trip tags button to insert dynamic details.
Example: “The passenger for Trip #TRIP_CONFNUM# has been dropped off.”
Assigning Account-Specific Templates
- Search for the client’s account.
- Select the contact and click Edit.
- Go to the Misc tab.
- Choose the relevant templates from the Scheduled Email Rules for Account drop-down menu. (Only templates where you selected “Yes” in Step 13 will appear.)
- Click Save.

For questions about setting up scheduled messaging templates, contact Limo Anywhere Support at 888-888-0302 x2 or Support@LimoAnywhere.com. Have feedback on existing features? Email our Product Team at ProductTeam@LimoAnywhere.com—your input helps us improve the platform.


